How to grow Sugar Snap Peas: A Complete Guide from Seed to Harvest
Learn how to grow sweet, crispy sugar snap peas in your garden with this simple guide. Perfect for beginners and experienced gardeners alike, this crop is beautiful and delicious. Peas are a great crop for cool weather
Let’s talk about pea stories
There are so many different varieties of peas out there, but sugar snap peas are our favorite.
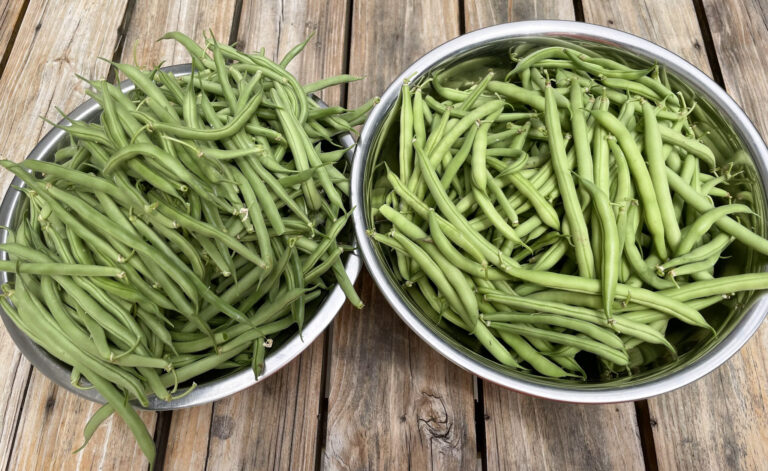
When it comes to edible pea pods, which ones should you grow? Snow peas or sugar snap peas?
When I was about 11 years old, my brother and I grew a variety of peas called “mangetout” (meaning “eat all”). It was a snow pea variety with flat pods. We worked the rows of peas all season and sold them to a local French restaurant. Sugar snap peas are similar to snow peas, as you eat the whole pod, but the pods are big and round. Sugar snap peas are one of my kids’ favorite garden snacks, as they have an awesome, sweet, crispy bite.
Speaking of history, Calvin Lamborn is the man who crossed varieties of peas to develop the wonderful sugar snap pea.
Why grow sugar snap peas
In my experience, sugar snap peas are great for beginner gardeners. They grow in about 50-70 days from seed to harvest. I haven’t had pest issues when growing them in the garden. The legume family is also great for fixing nitrogen in the soil.
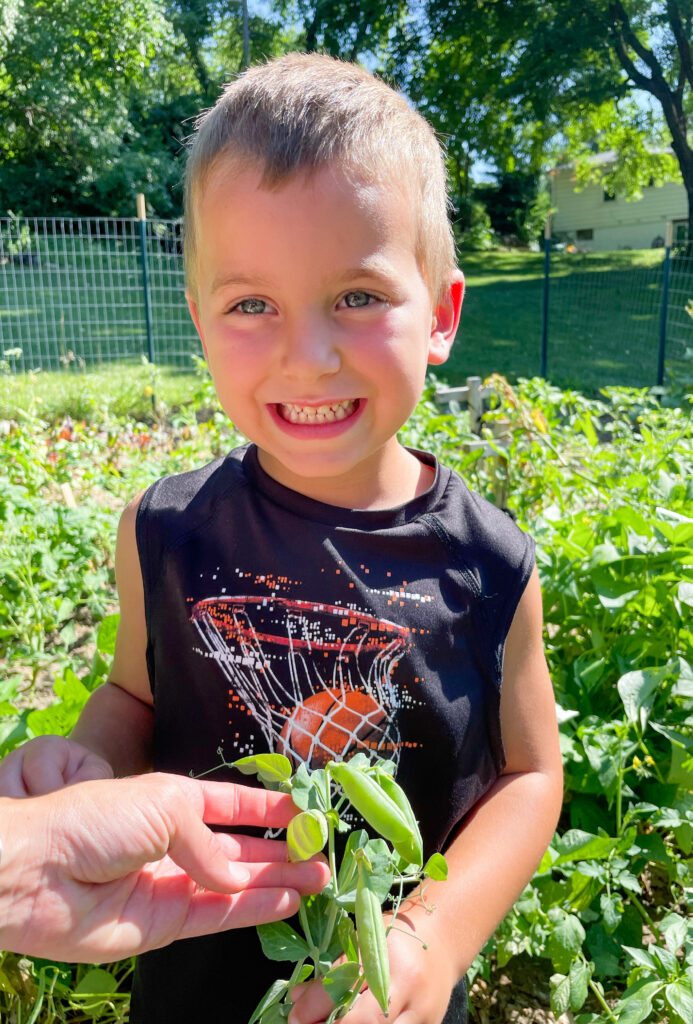
As I mentioned above, our kids love sugar snap peas fresh out of the garden. They rarely make it into the house because we eat them straight from the vine. While many vegetables can be bitter, that’s not the case for these peas – they’re sweet! They’re high in vitamins C and K and rich in fiber. I also love that peas are a protein source.
When to Plant Sugar Snap Peas
Sugar snap peas are cool-weather plants – they thrive in 45-65 degree temperatures. This makes them a great crop for spring and fall. I LOVE planting my peas when the chance of frost has passed (April 15th for Kansas City). You can find your frost dates [here]. I often put them where I will later plant my tomatoes in the warm season.
If you have the space, I recommend using a succession planting method. After you plant pea seeds and they sprout out of the ground, plant another row, so you can harvest for a longer period of time.
Choosing the Right Location
- Choose a spot with good sunlight. Though peas can tolerate some shade, they’ll produce more if they have 6-8 hours of sunlight.
- Give them a few inches of space to grow and get established.
- Peas are climbing plants – so plant them near a trellis. I LOVE growing vertically because it’s so beautiful. Since they’re a cool-season crop, they start filling the trellis in early spring.
Step-by-Step Planting Guide
1- Start with healthy soil. Like any garden crop, you want to prepare the soil. Make sure your pH levels are good, and you have decomposed organic matter (aka compost) mixed into the soil.
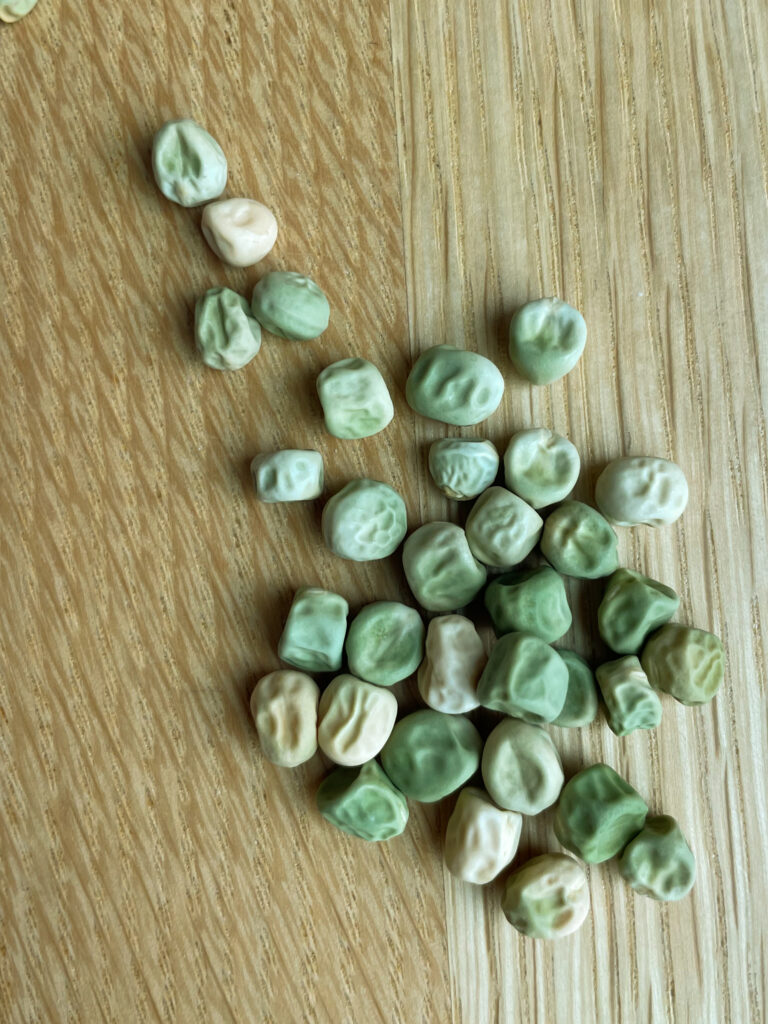
2- Direct sow the peas. Plant your pea seeds 1 inch deep in the soil. (An easy way to remember planting depth: seeds should be planted twice as deep as they are wide—so a ½-inch seed needs a 1-inch-deep hole.) Space the seeds about 2 inches apart, cover with soil, and water well.
3- Keep the soil moist. Water and temperature are what tell a seed that it’s “go time,” so it’s important to make sure the soil doesn’t dry out during germination.
Essential Care and Maintenance
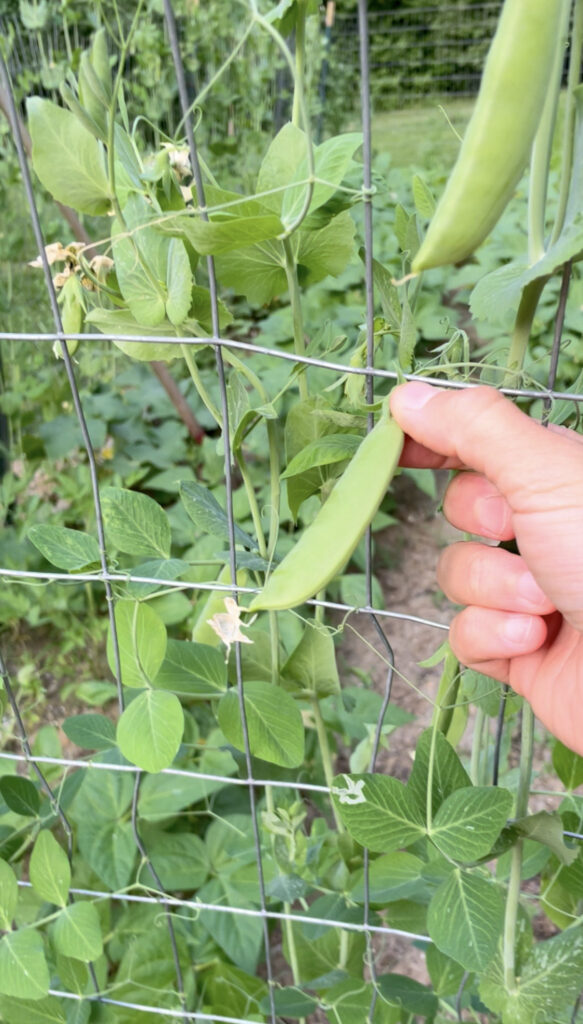
- When the plants are about 15-18 inches tall, gently weave them onto the trellis. If they’re not clinging to it naturally, use a soft plant tie. Peas have these little grips called tendrils—they’re modified leaves that will coil around objects for support. Use these to your advantage! Peas are a great vertical crop, making it easier to keep them pest-free and prevent the pea pods from rotting on the ground.
- You can mulch at the base of your pea plants to maintain soil moisture content.
- I don’t typically fertilize my peas besides starting with great, healthy soil.
- Peas are part of the legume family, which is great for fixing nitrogen in the soil. When your plant is done producing (when the summer heat has arrived or the fall frost has come), I suggest cutting the plant at the soil level—leaving the roots in the ground. This will encourage good soil bacteria growth.
- Peas are a great companion plant and often an excellent preceding crop, especially for corn and the cabbage family. (Coleman, Eliot. The New Organic Grower. Chelsea Green Publishing, 2018, p. 156)
Managing Common Pests and Diseases
It’s common to see some powdery mildew on plants when the heat and humidity are high. One way to slow the spread of this fungus is to focus your watering at the roots, not on the leaves.
To deter pests, encourage biodiversity in the garden. That’s just a fancy way of saying: plant many different plant families together. This practice not only benefits soil health but also creates natural pest deterrence, as different herbs and plants serve as pest deterrents.
Harvesting Your Sugar Snap Peas
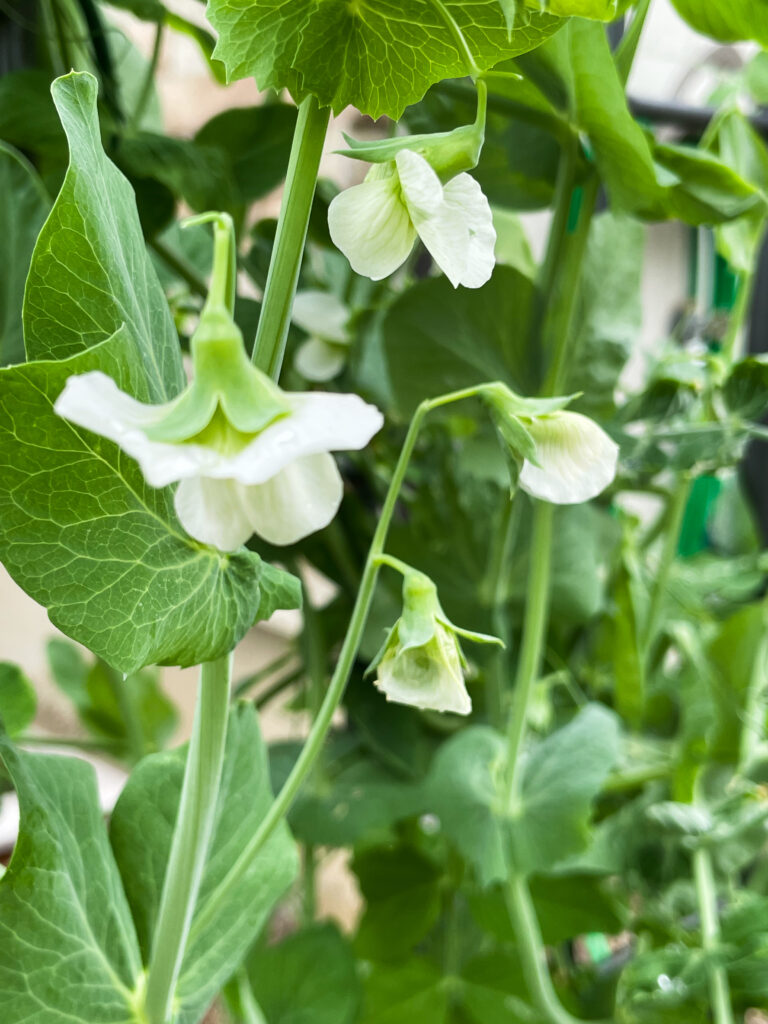
As your plants mature, they will start forming blooms. These little flowers are very sweet and beautiful. After a while, the blooms will produce pea pods. Let them mature to full size, but don’t delay in picking them. Pea pods that have passed their prime become tough and lose their sweetness.
To harvest, gently pull on the pod. Be careful not to yank the whole plant out of the ground!
Using Your Harvest
Like I said before, we mostly eat the peas fresh. My kids get excited about them and love sharing this sweet snack with the neighbors. You can use them in stir-fries or rice dishes. They’re also perfect additions to salads and veggie platters.
Conclusion
If you want to make your garden beautiful and grow really tasty veggies—I hope you start with peas! Though there are so many varieties, sugar snap peas are our favorite. Plant them, cultivate them, and please let me know how it went!
Need more help? Reach out to Myriam for garden coaching.
Happy growing!